Prepare the point of sale
Before the first sale, configure the company, user, products, payment methods and compatible fiscal equipment. Products can be entered manually or imported from Excel using the app's template.
Check prices, VAT rates and units of measure. Switch on the fiscal equipment, check its connection to the app and make sure the printer has paper. The MicroPOS guide explains the setup step by step.
Select the customer's products
After signing in, open the sales screen. Find the product in the relevant category or use search, then select it to add it to the current sale.
Check products and quantities as you build the receipt. If a product has attribute templates, choose the required options. For example, a set menu may require selection of a main course and a side dish, according to the configured rules.
Check the total before taking payment
Review the product list, quantities and total amount. Selected options may add surcharges to the product's base price. For products with packaging covered by Romania's SGR deposit-return system, check the packaging association and deposit calculation against the configuration.
This is the right time to confirm with the customer what they are buying and the amount due, before proceeding to payment and receipt issuance.
Choose the payment method
Press the Încasează (Take payment) button and select the customer's payment method. MicroPOS supports cash, card and other methods available in the point-of-sale setup, including meal vouchers in compatible setups.
For card payments, follow the process of the payment solution being used and check the transaction result. Viva Wallet integration is available in compatible setups; selecting the Card method does not replace confirmation that payment was received.
Confirm payment and receipt issuance
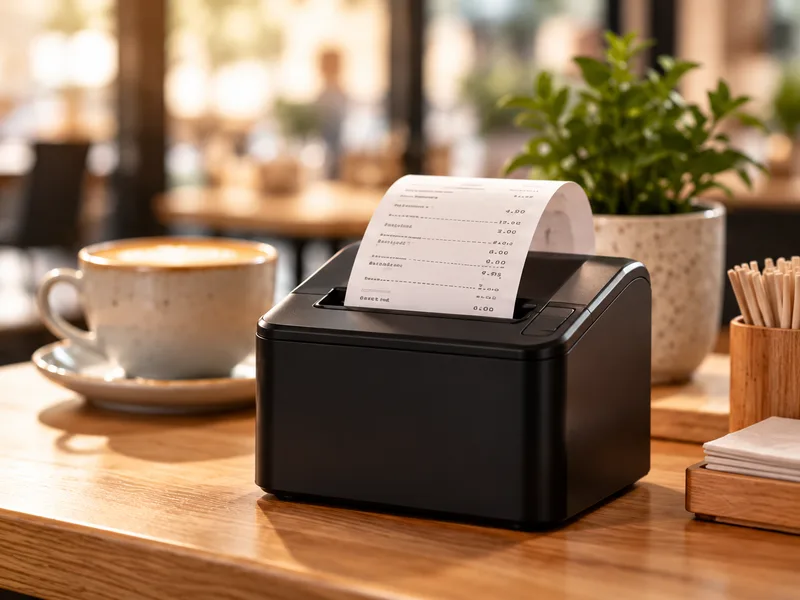
After payment is confirmed, the process continues by sending the transaction to the fiscal equipment, recording it fiscally and printing the receipt. In a setup with an external device, MicroPOS communicates with that device; on a compatible All-in-One, the fiscal component is integrated.
Check that the operation has completed and the receipt has been issued before starting the next sale. Receipts can be viewed later in the app's history.
If the receipt does not print
Do not immediately repeat the sale. First check whether the operation was recorded fiscally and whether the receipt appears in the history. A printing problem does not prove that the sale was not recorded.
Check the paper, connection and displayed message. If the situation is unclear, send support the device model, fiscal device model, connection method and error message. Receipt reprinting depends on the compatible setup.
See how it fits your business.
Download MicroPOS and work through the sales process on your device.
Try it free for 14 days